Home Assistant
Published:
Today I set up Home Assistant. If you’re not familiar, Home Assistant is open source, self-hosted home automation software.
The impetus for this project was seeing, in the homes of friends and family, the convenience of having a proper home automation setup. Hoping to achieve some of this sophistication, I bought a set of WiZ fairy lights a while back. They give my living room the appropriate amount of cozy ambiance, but without Home Assistant, I was stuck using a proprietary app. It has a serviceable, workmanlike UI; it’s maybe a little finicky, but there’s not really anything to complain about. Despite that, it grinds my gears to use something so… branded.
My issue was overcoming the hurdle of deciding to care enough to actually do something about it. Setting up a homelab would require researching a suitable server, purchasing it, installing monitoring software, setting up automatic backups, and testing disaster recovery. Then, once I had a suitable foundation, I could consider installing Home Assistant in a container. I had built it up in my mind as a massive project, and “perfect” became the enemy of “good”.
Then, when I won the 2025 BSides Chicago scavenger hunt and received a ThinkCentre M625 Thin Client as a prize, I had no more excuses. The M625 isn’t a very beefy machine, but its specs are more than enough to run Home Assistant OS (HAOS) and a few simple automations. It’s kind of nice that it isn’t enough of a machine to run everything I might like, because it frees me to just devote it to a simple HAOS setup.
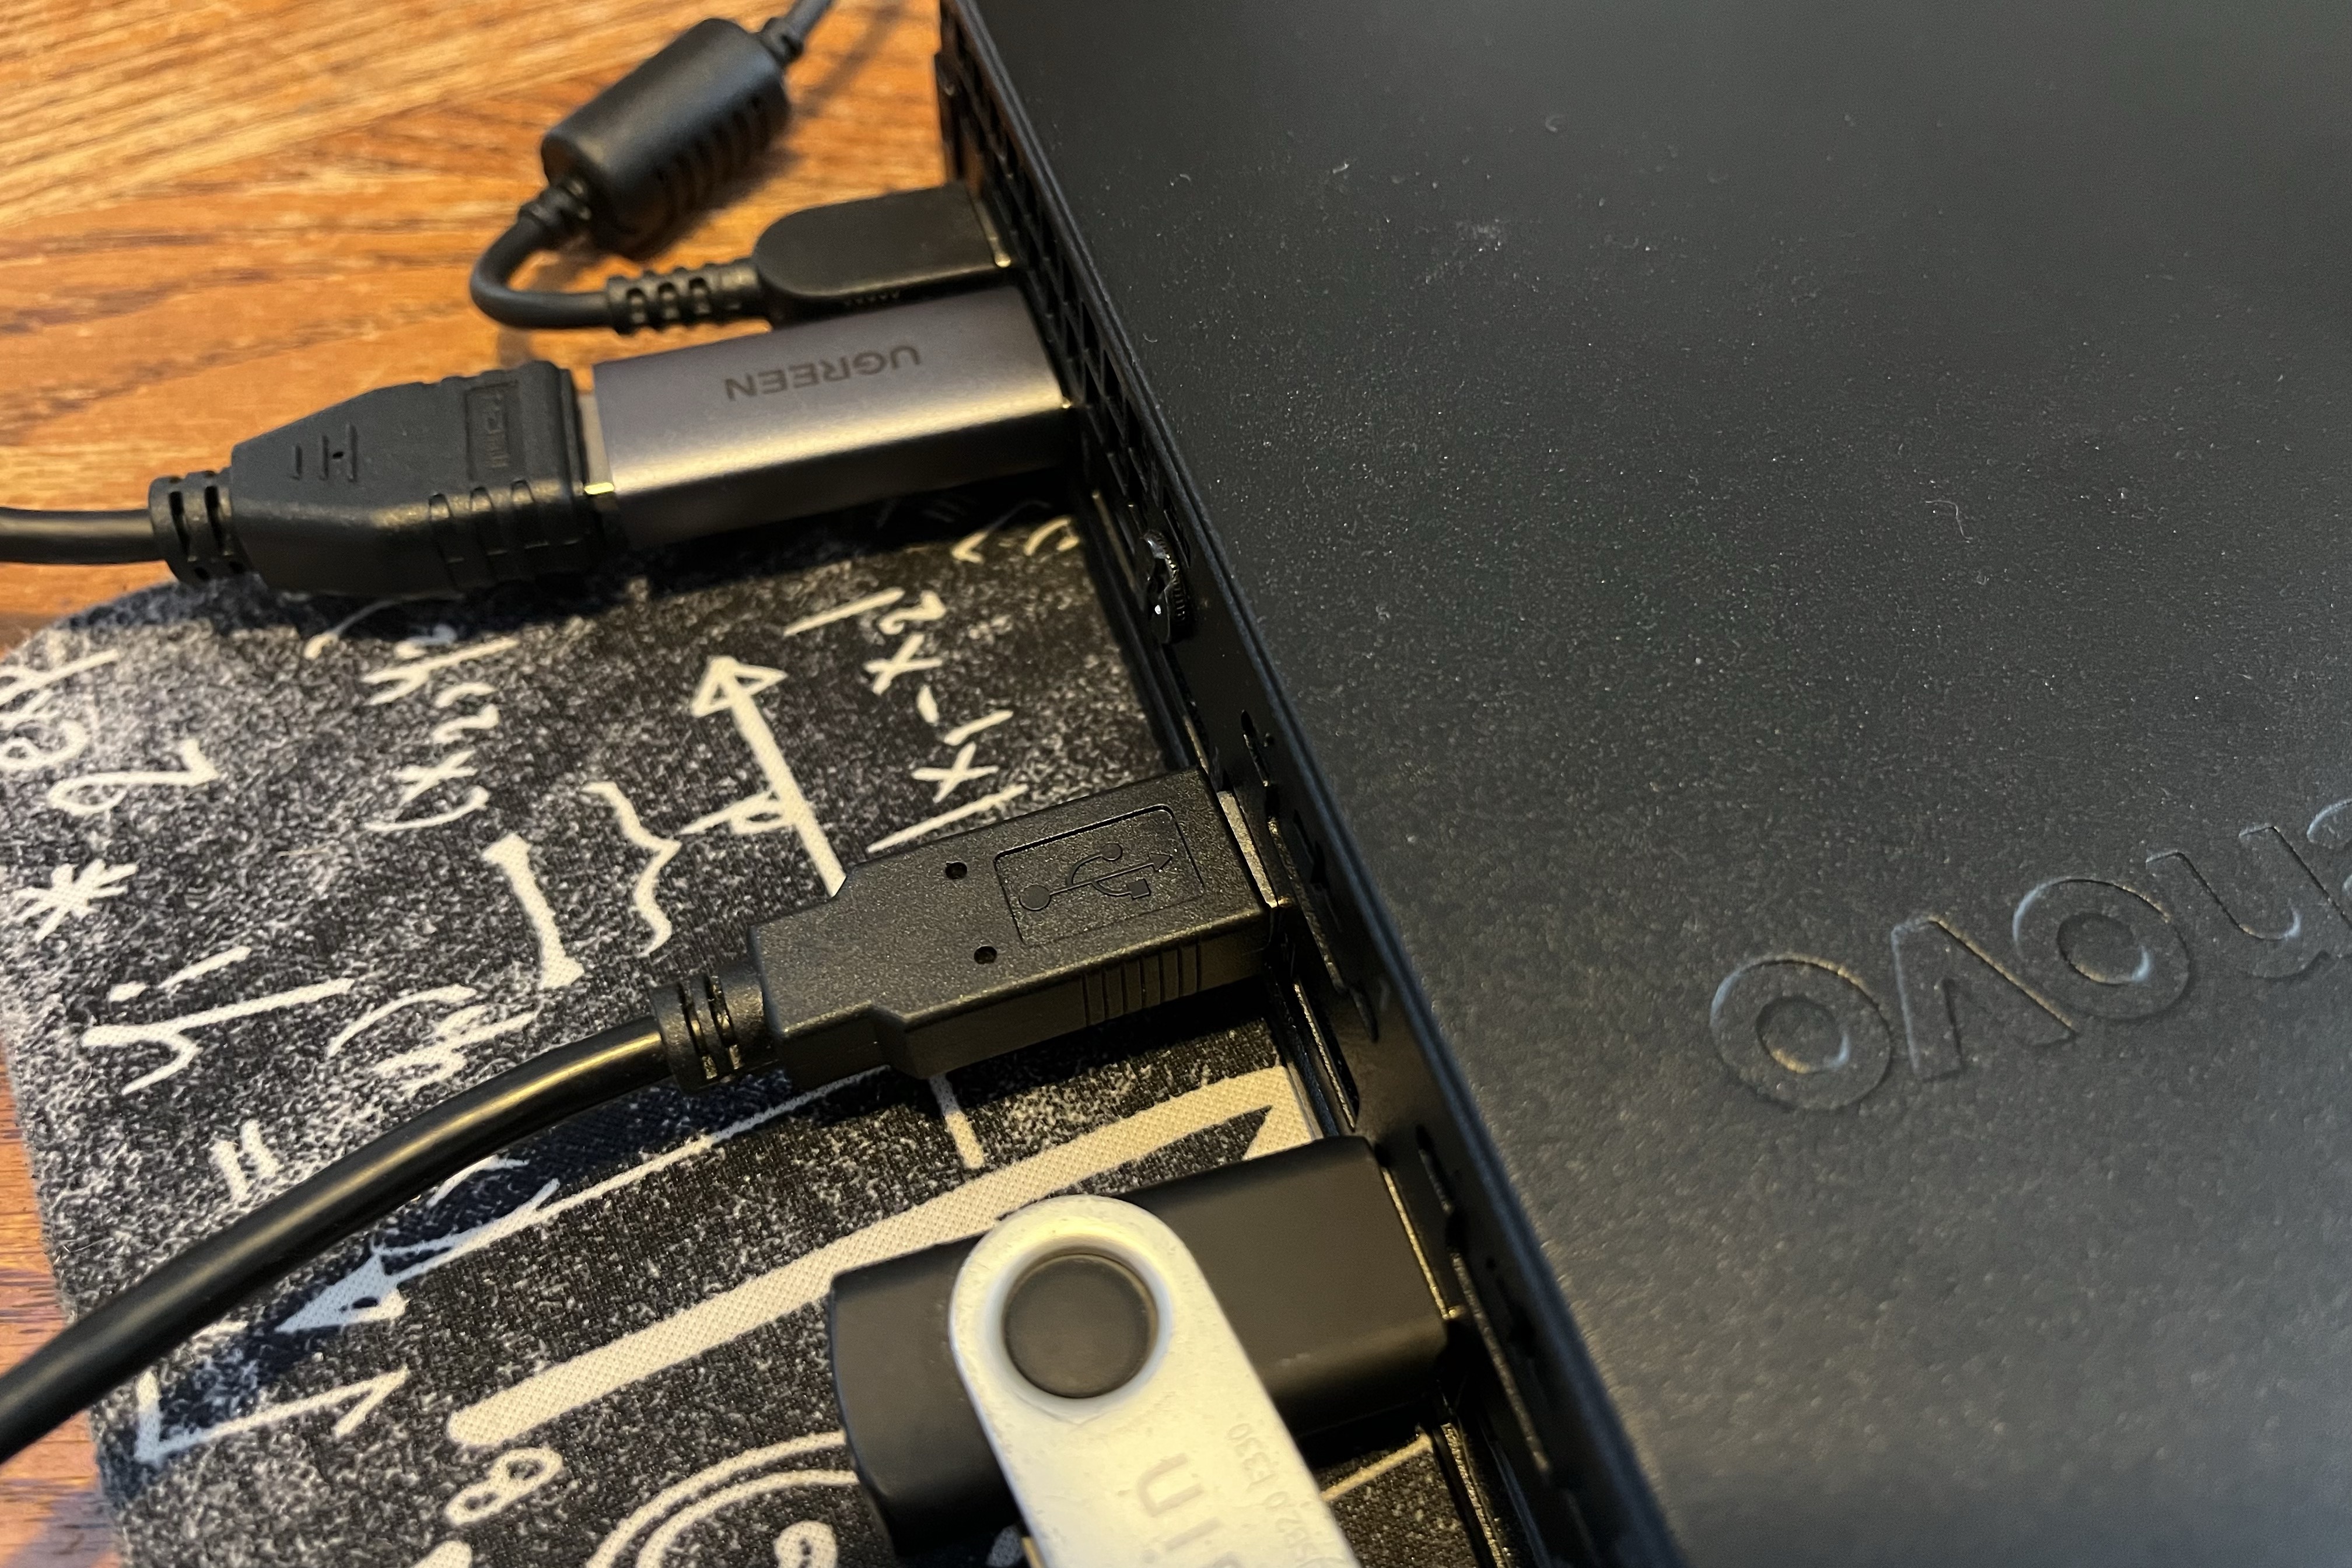
There are also a few other nice things about the M625. It’s fan-free and silent, so I can keep it right next to me in my home office without causing any distracting noises. It has a wide selection of ports, including USB 2.0 (ideal for a Zigbee dongle) and USB 3.0 (ideal for fast data transfer), as well as gigabit Ethernet. As an added bonus, it’s tiny and unimposing, with incredibly low power draw.
The only issue I ran into with the M625 is that it doesn’t have an HDMI port, so I had to purchase a DisplayPort converter. I went with UGREEN and am happy with the decision.
The HAOS installation process itself was extremely smooth, and I found the official documentation’s tutorial easy to follow. I went through the steps to change the necessary BIOS settings and set the “After Power Loss” option to “Power On,” allowing automatic recovery from a residential outage. After that, their recommended installation path uses a live USB with Ubuntu, which I already had lying around from refurbishing some old laptops a few months ago. I booted into that, restored the HAOS disk image, and restarted the M625. I was immediately presented with the HAOS welcome banner and was up and running with the Home Assistant dashboard just a few minutes later.
Adding my fairy lights was friction-free, with none of the fiddliness that the official app caused me. I also hooked up my AirGradient air quality monitor so I can see carbon dioxide concentrations at a glance.
With that, I’ve got a fully functional Home Assistant instance to help automate my home, and I’m excited to keep adding more functionality to my Home Assistant dashboard as I continue making my home “smarter.”